Lab Report Structure
Labs are set up in six main sections: Overview, Theory, Procedure, Pre-Lab, Data, Analysis, and Report. Most of these sections can contain customized subsections with their own titles, organized using a drop-down menu under each main section.
Pages
A drop-down menu can be used to organize the lab sections into subsections using pages. Pages can be added as needed and can be deleted if necessary. Within each page, there is a field to define the page’s title and a space within which to place its content.
Main Sections
Overview
The Overview provides the title of the experiment, as well as the cited sources. These sources are numbered as entered: the first source entered will be assigned the number 1; the second source entered, number 2, and so on. This is important when using the Vancouver referencing style where superscripted numbers in the text are used to cite sources, and these cited sources are presented as a numbered list in the reference section at the end of the report. Labs may also be duplicated or deleted here using the buttons at the bottom of the page.

Theory
The Theory section is where the introduction to an experiment is located, as well as any other information, in the form of tabs, listing necessary materials and equipment, scientific principles, mathematical formulas, and other relevant instructions or data.
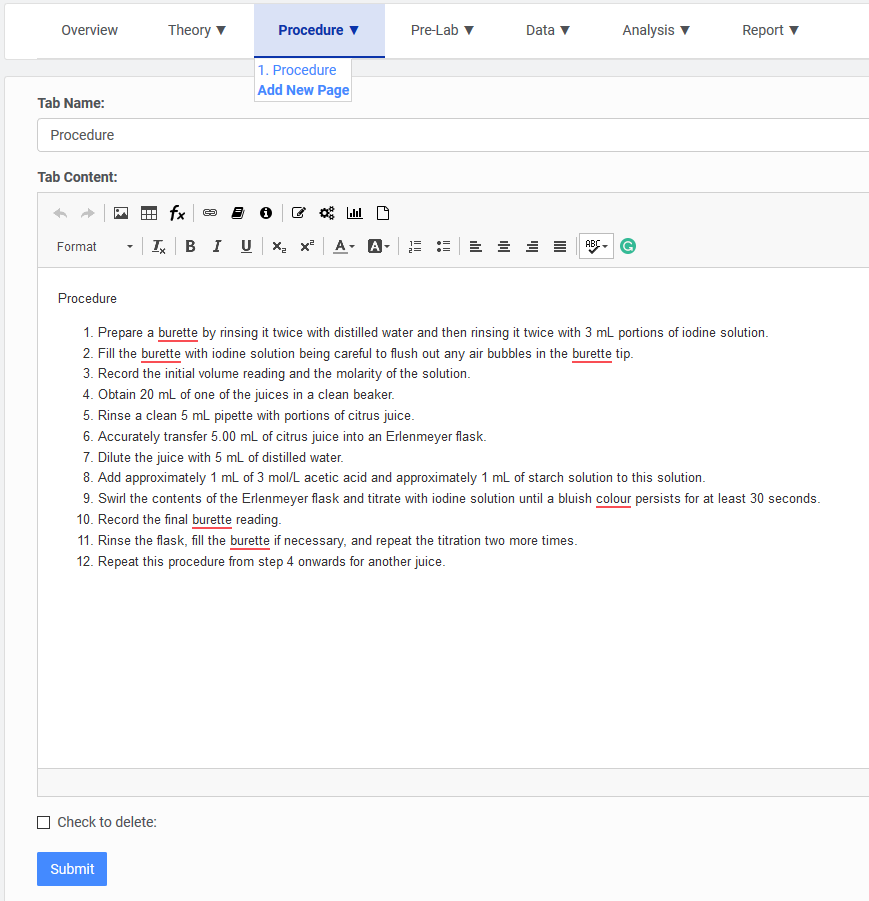
Procedure
The Procedure section lists the precise steps to follow when performing an experiment. Additionally, it will describe which variables of the experiment will be changed and/or measured, and what type of error to expect. For this section, it is recommended to use numbered lists to enumerate the steps of the experiment’s procedure in order to automatically renumber the list if additions or modifications are performed.
Pre-Lab
The Pre-Lab section contains any exercises or questions which must be completed before starting the experiment.
Data
This Data section is the place to enter data recorded during the experiment. Use the Student Input icon to create fields where students can enter values and observations. Computed Fields can be used to calculate values based on data entered in student inputs. Input and computed fields should have unique, meaningful variable names in order to distinguish them. These can then be used in other areas, such as in plots, in other sections, and in the final report. It is recommended to use tables to help organize this section. Use these icons to insert student input and computed fields:
For student inputs, you may also use the Notebook feature to include a pop-up window with pertinent information (e.g., instructions on how to do a calculation or the elements to include when writing an Abstract) when a student clicks inside the field.

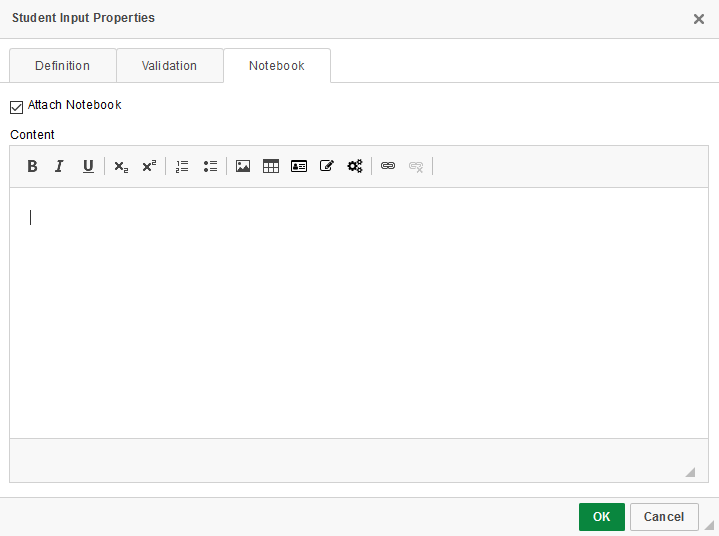
The Validation feature allows the teacher to enter minimum and maximum allowed values for the input field. If the student enters a value below the minimum allowed value or above the maximum allow value, a red message will appear to alert the student. This, therefore, is a means of providing real-time feedback to the student during data collection, as well as during writing.
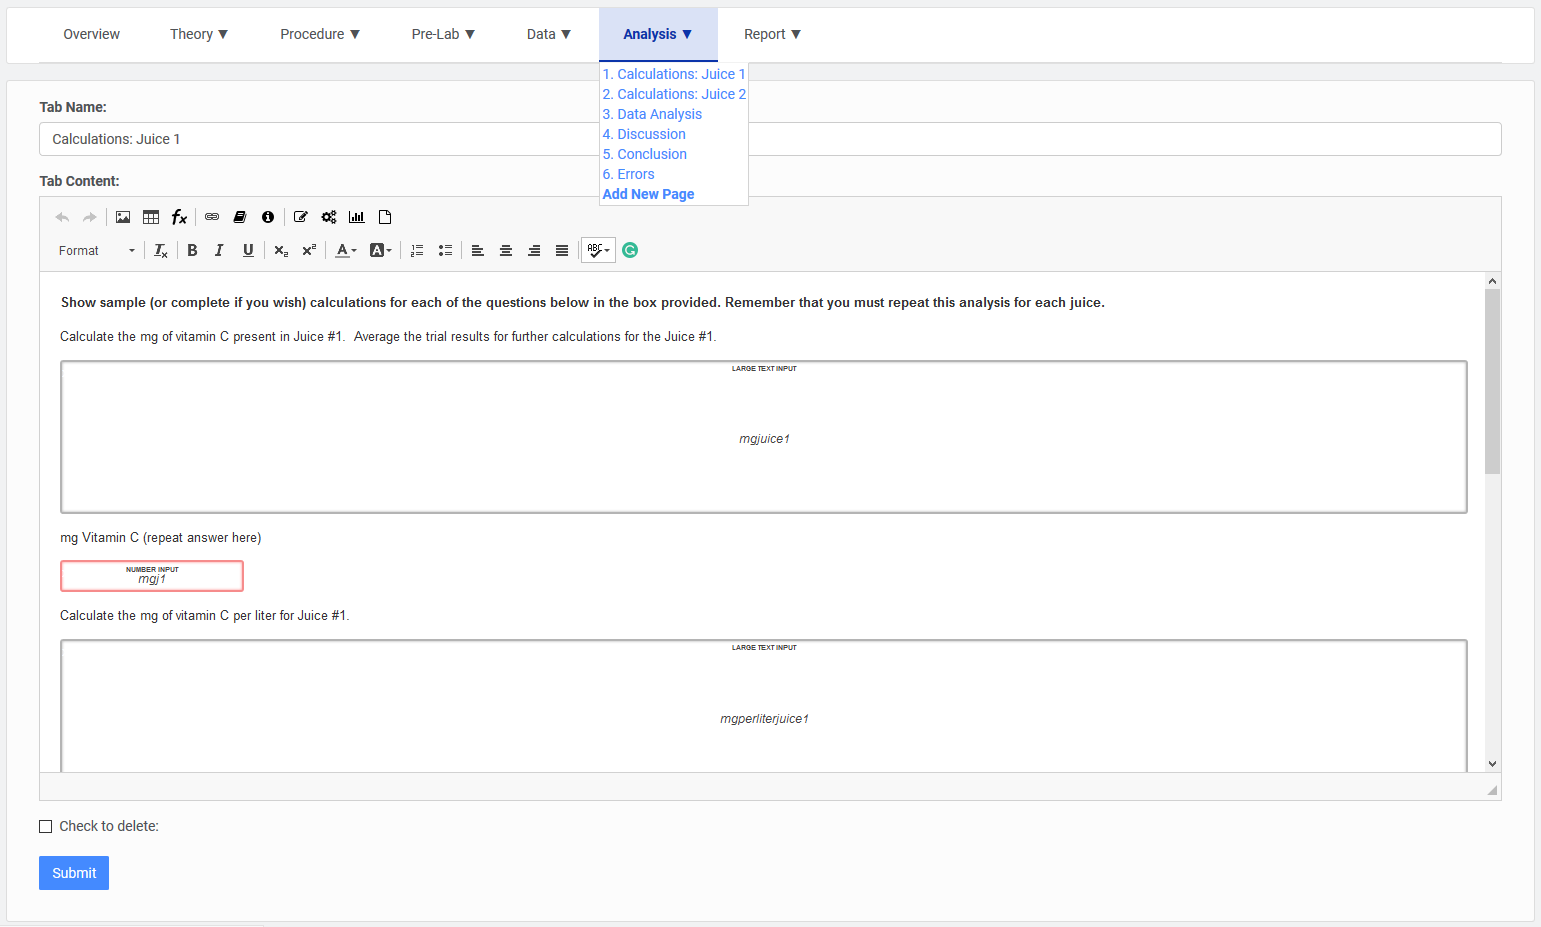
Analysis
The Analysis section is where a detailed examination of the data is performed, including any necessary calculations, discussions, and errors. It is also recommended to add a section for any conclusions using the data obtained from the experiment. Like the Data section, student inputs and computed fields can be used here to create predefined areas for data and observations.
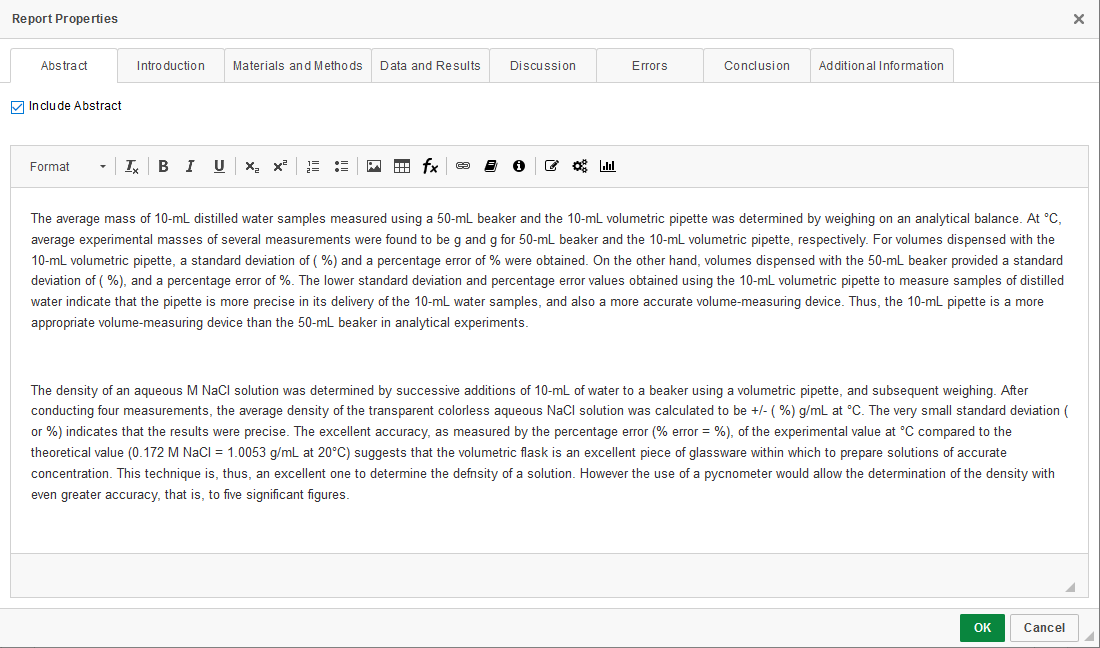
Report
The Report section should be reserved for adding the Report component. Using the defined sections, a detailed, finished document will be generated based on the experiment and any recorded data entered by students. To access components used earlier in the lab, add the appropriate field type and use the variable name declared earlier. To add the report, click on the Report icon